DIY Holiday Wreath in 5 Quick Steps.
It’s December 1st, can y’all believe it?! Over the past couple of years I’ve found myself getting into the holiday spirit earlier and earlier. I think a big part of it is living in North Carolina, where it actually feels like winter (aside from today) as opposed to years celebrating the holidays in sunny, 70 degree, Southern California. I’m never one to put up any winter or holiday decor prior to Thanksgiving, but since that has passed and it’s officially December, I thought today would be a good day to do a little decorating!
My decor usually falls into the natural, minimalist and Scandinavian variety for Christmas (you can get an idea here) and I love having lots of fresh pine and evergreen throughout the house. Instead of investing 40+ dollars on a pre made holiday wreath, I decided to DIY my own with some fresh greenery and a wire hanger.
Below you can find 5 very easy steps to a DIY wire hanger wreath for under $12.

DIY Wire Hanger Holiday Wreath
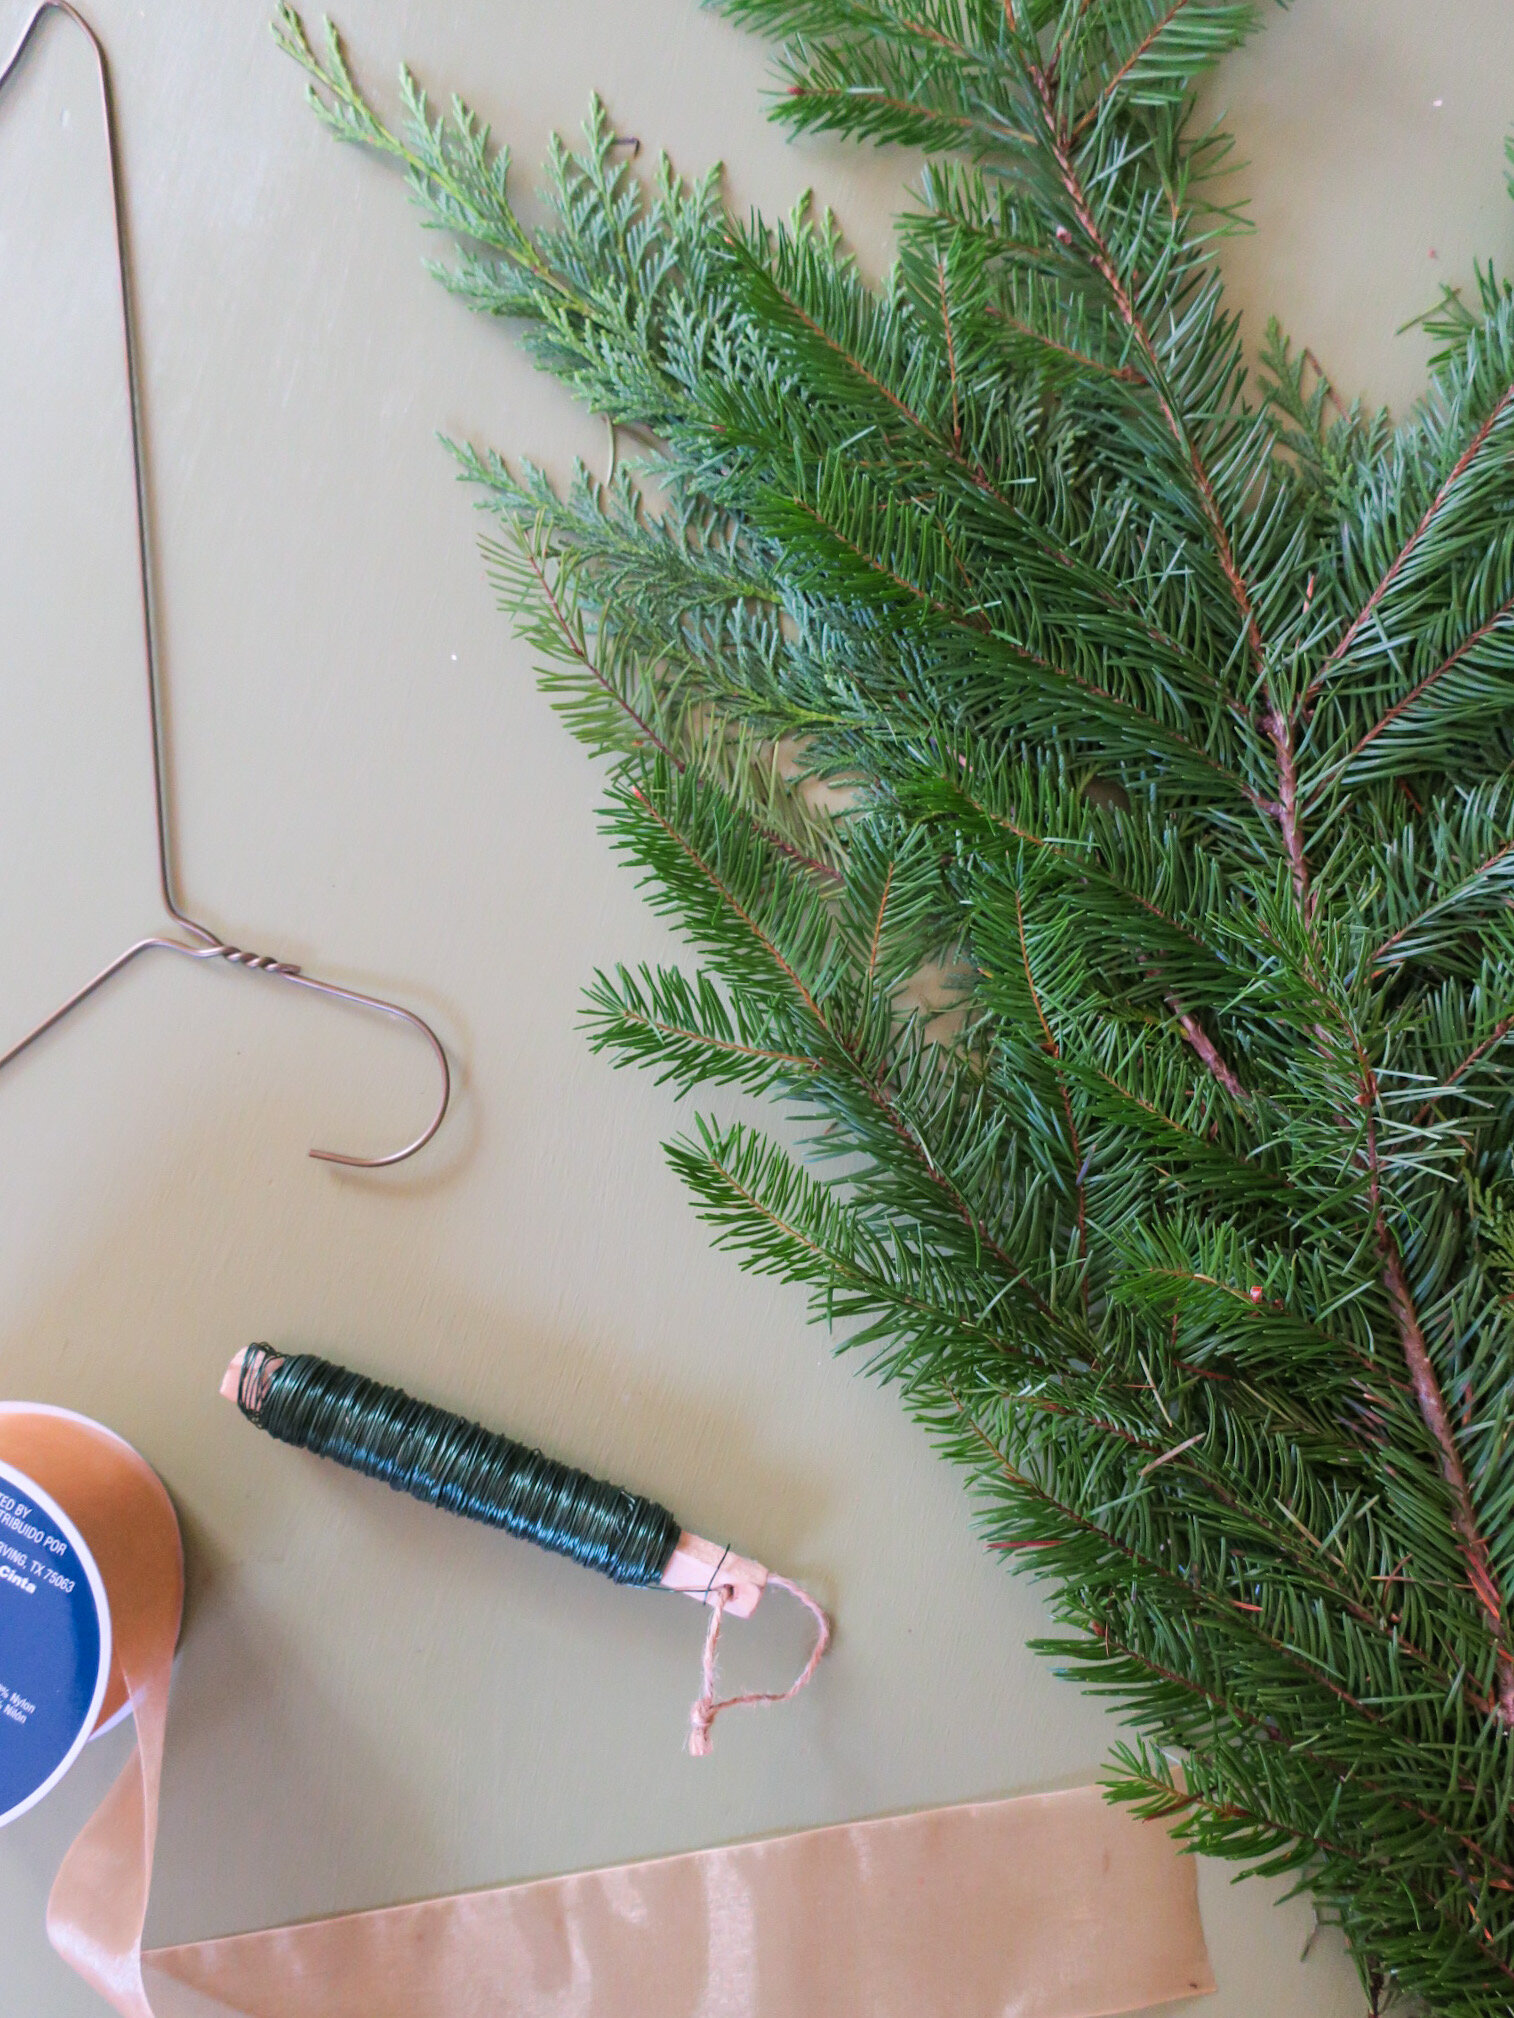
You Will Need:
wire hanger
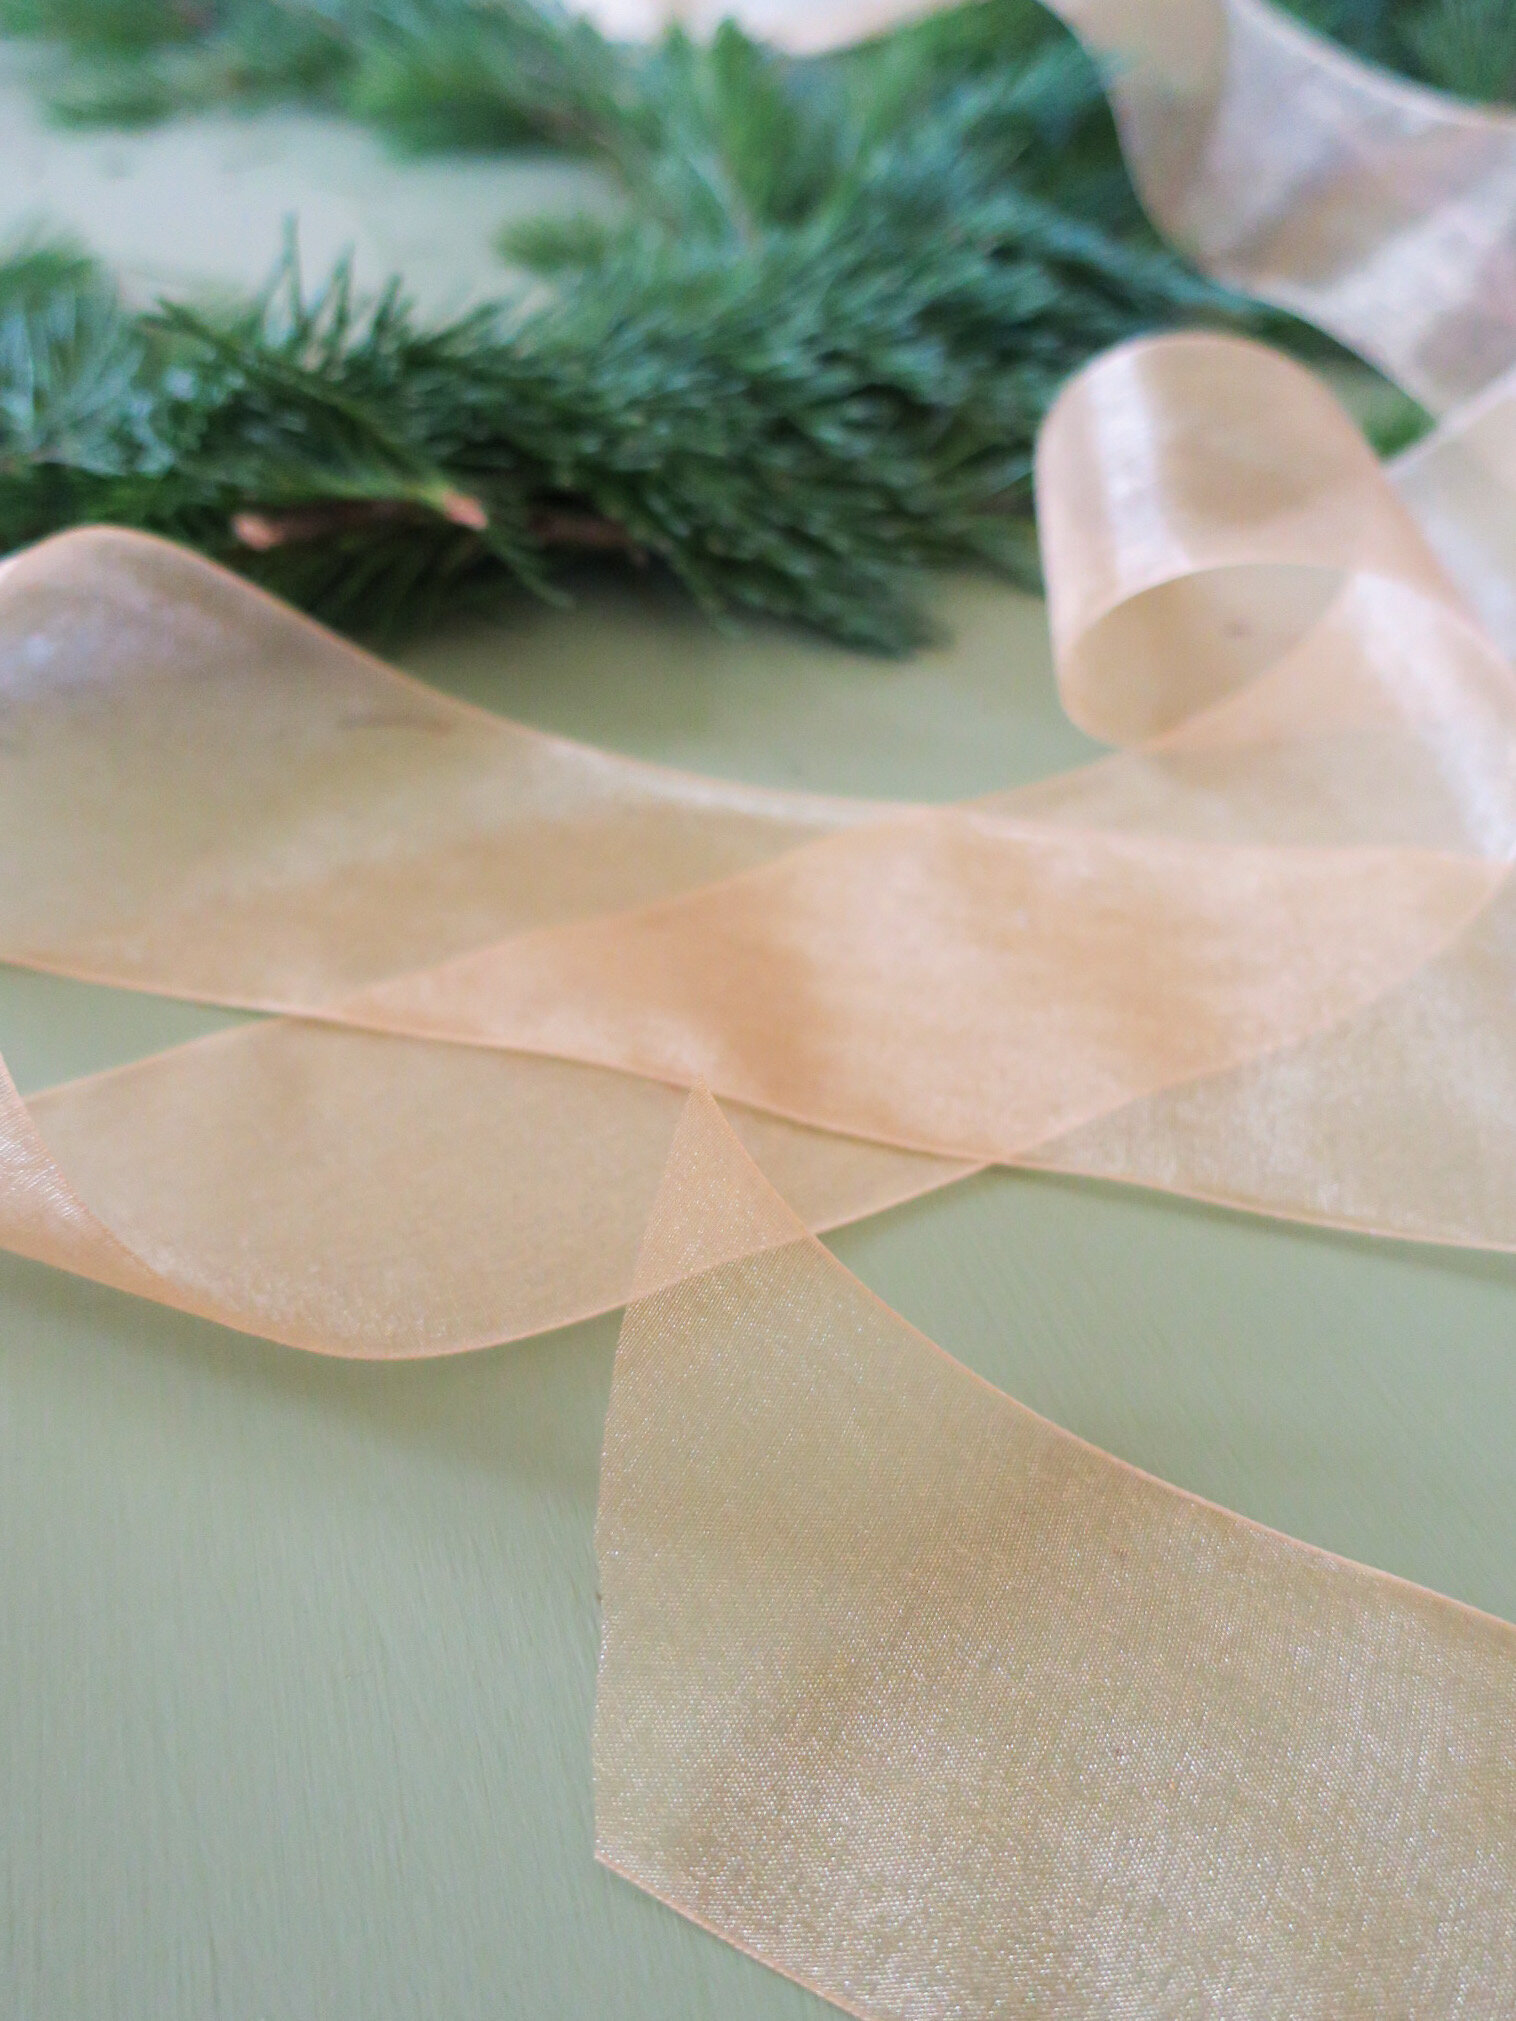
ribbon of your choosing (I used this one from Michael’s) $9.99 originally but used 40% off coupon
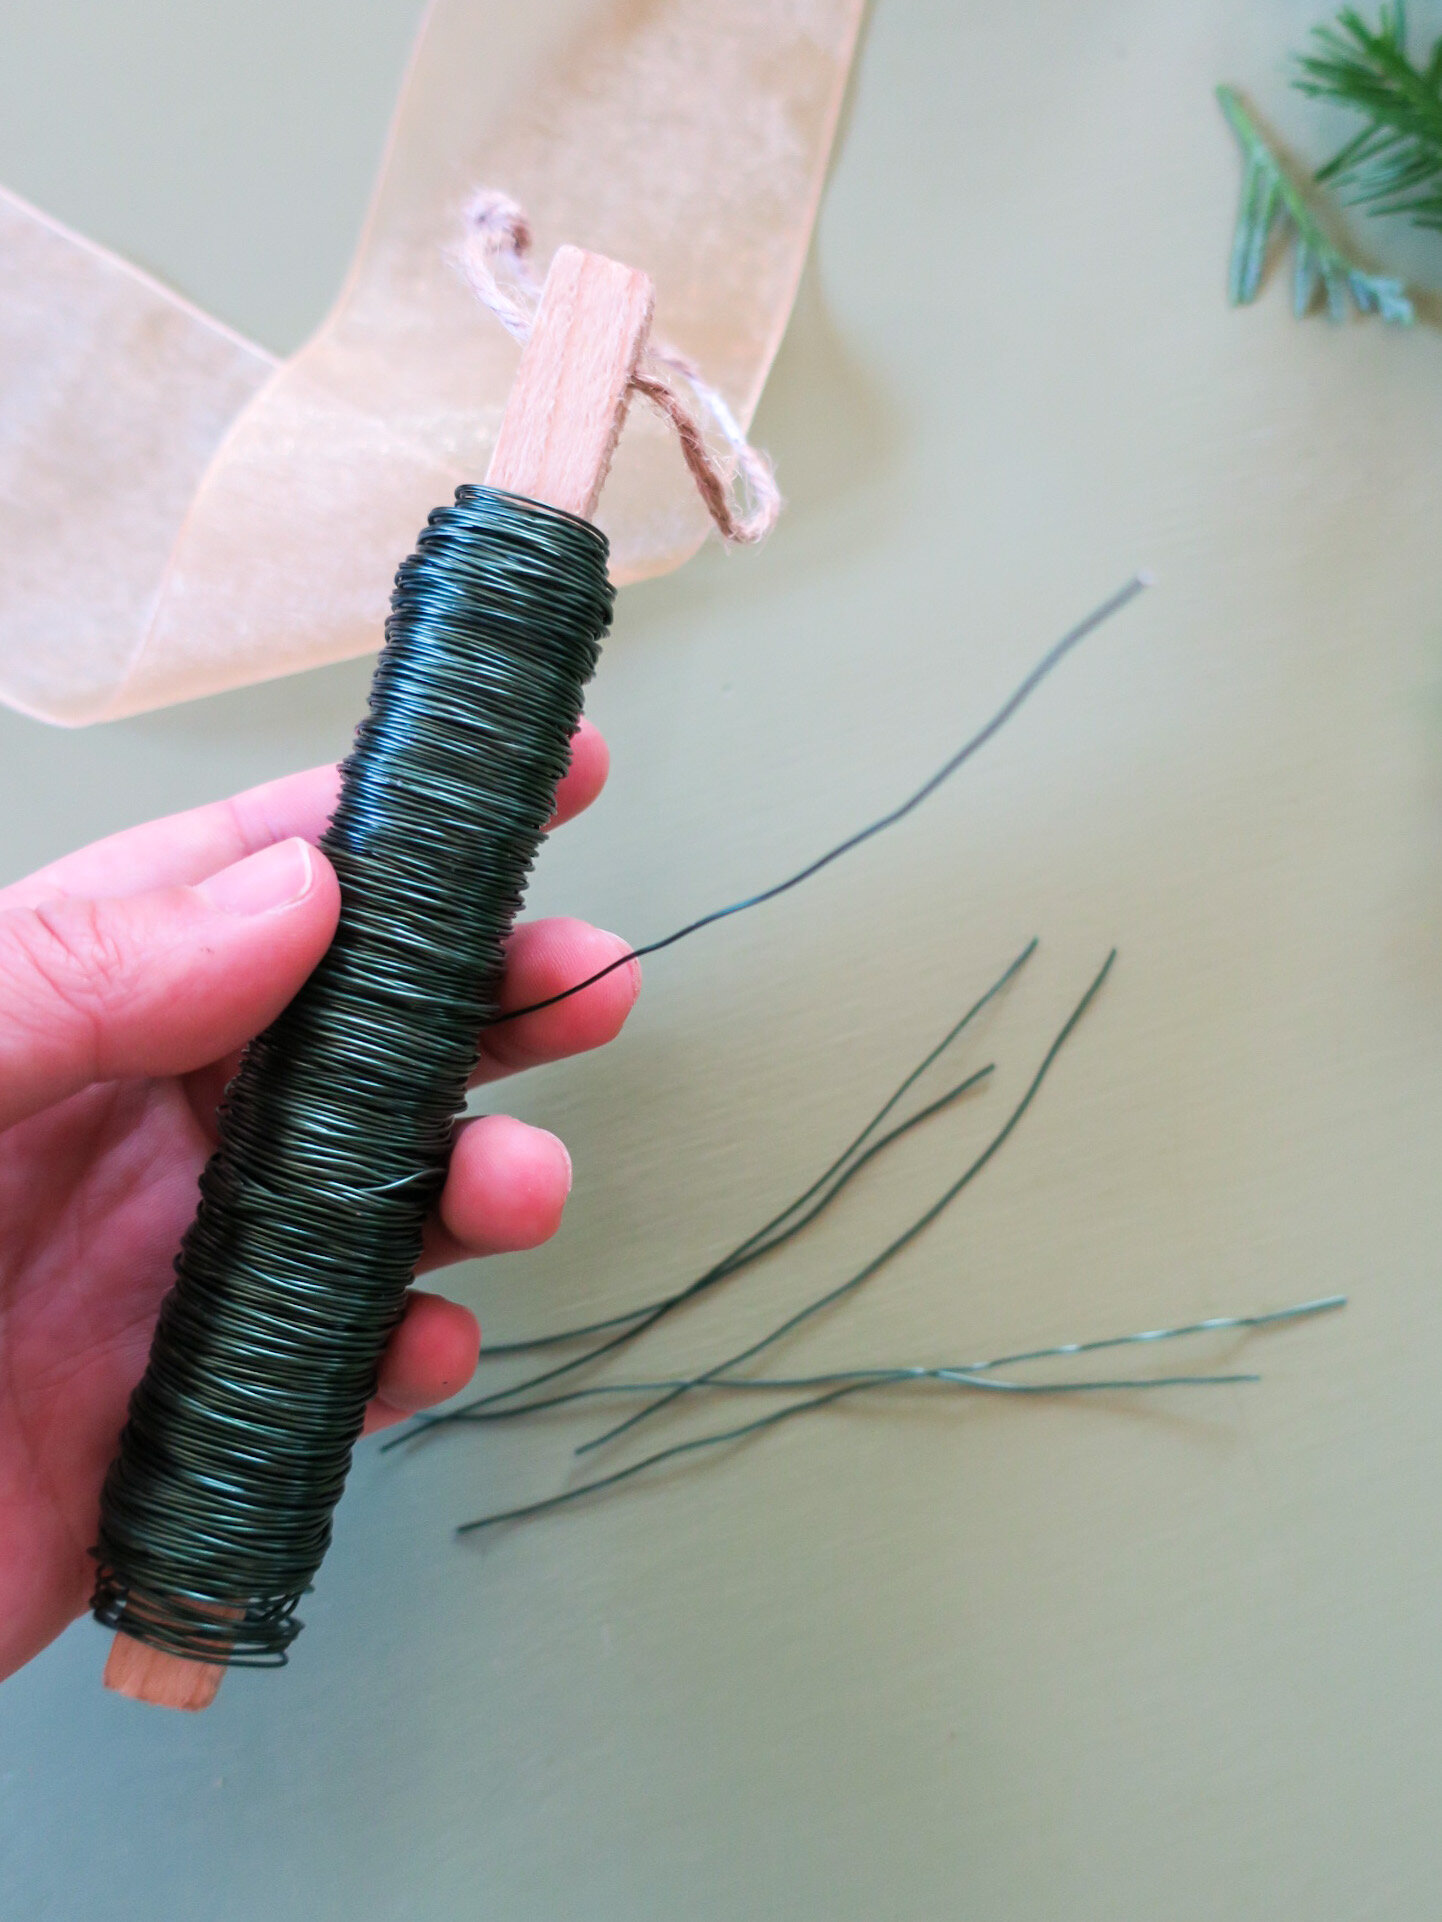
green floral wire (I purchased this one from Michael’s but a similar one is available here on Amazon) $2.59 originally but used 40% off coupon
greenery (Trader Joe’s sells a variety of cut evergreen for $3.99 - that’s what I used but feel free to pull from your yard)
scissors or wire cutters (the 22 gauge floral wire is easy to cut with basic household scissors)
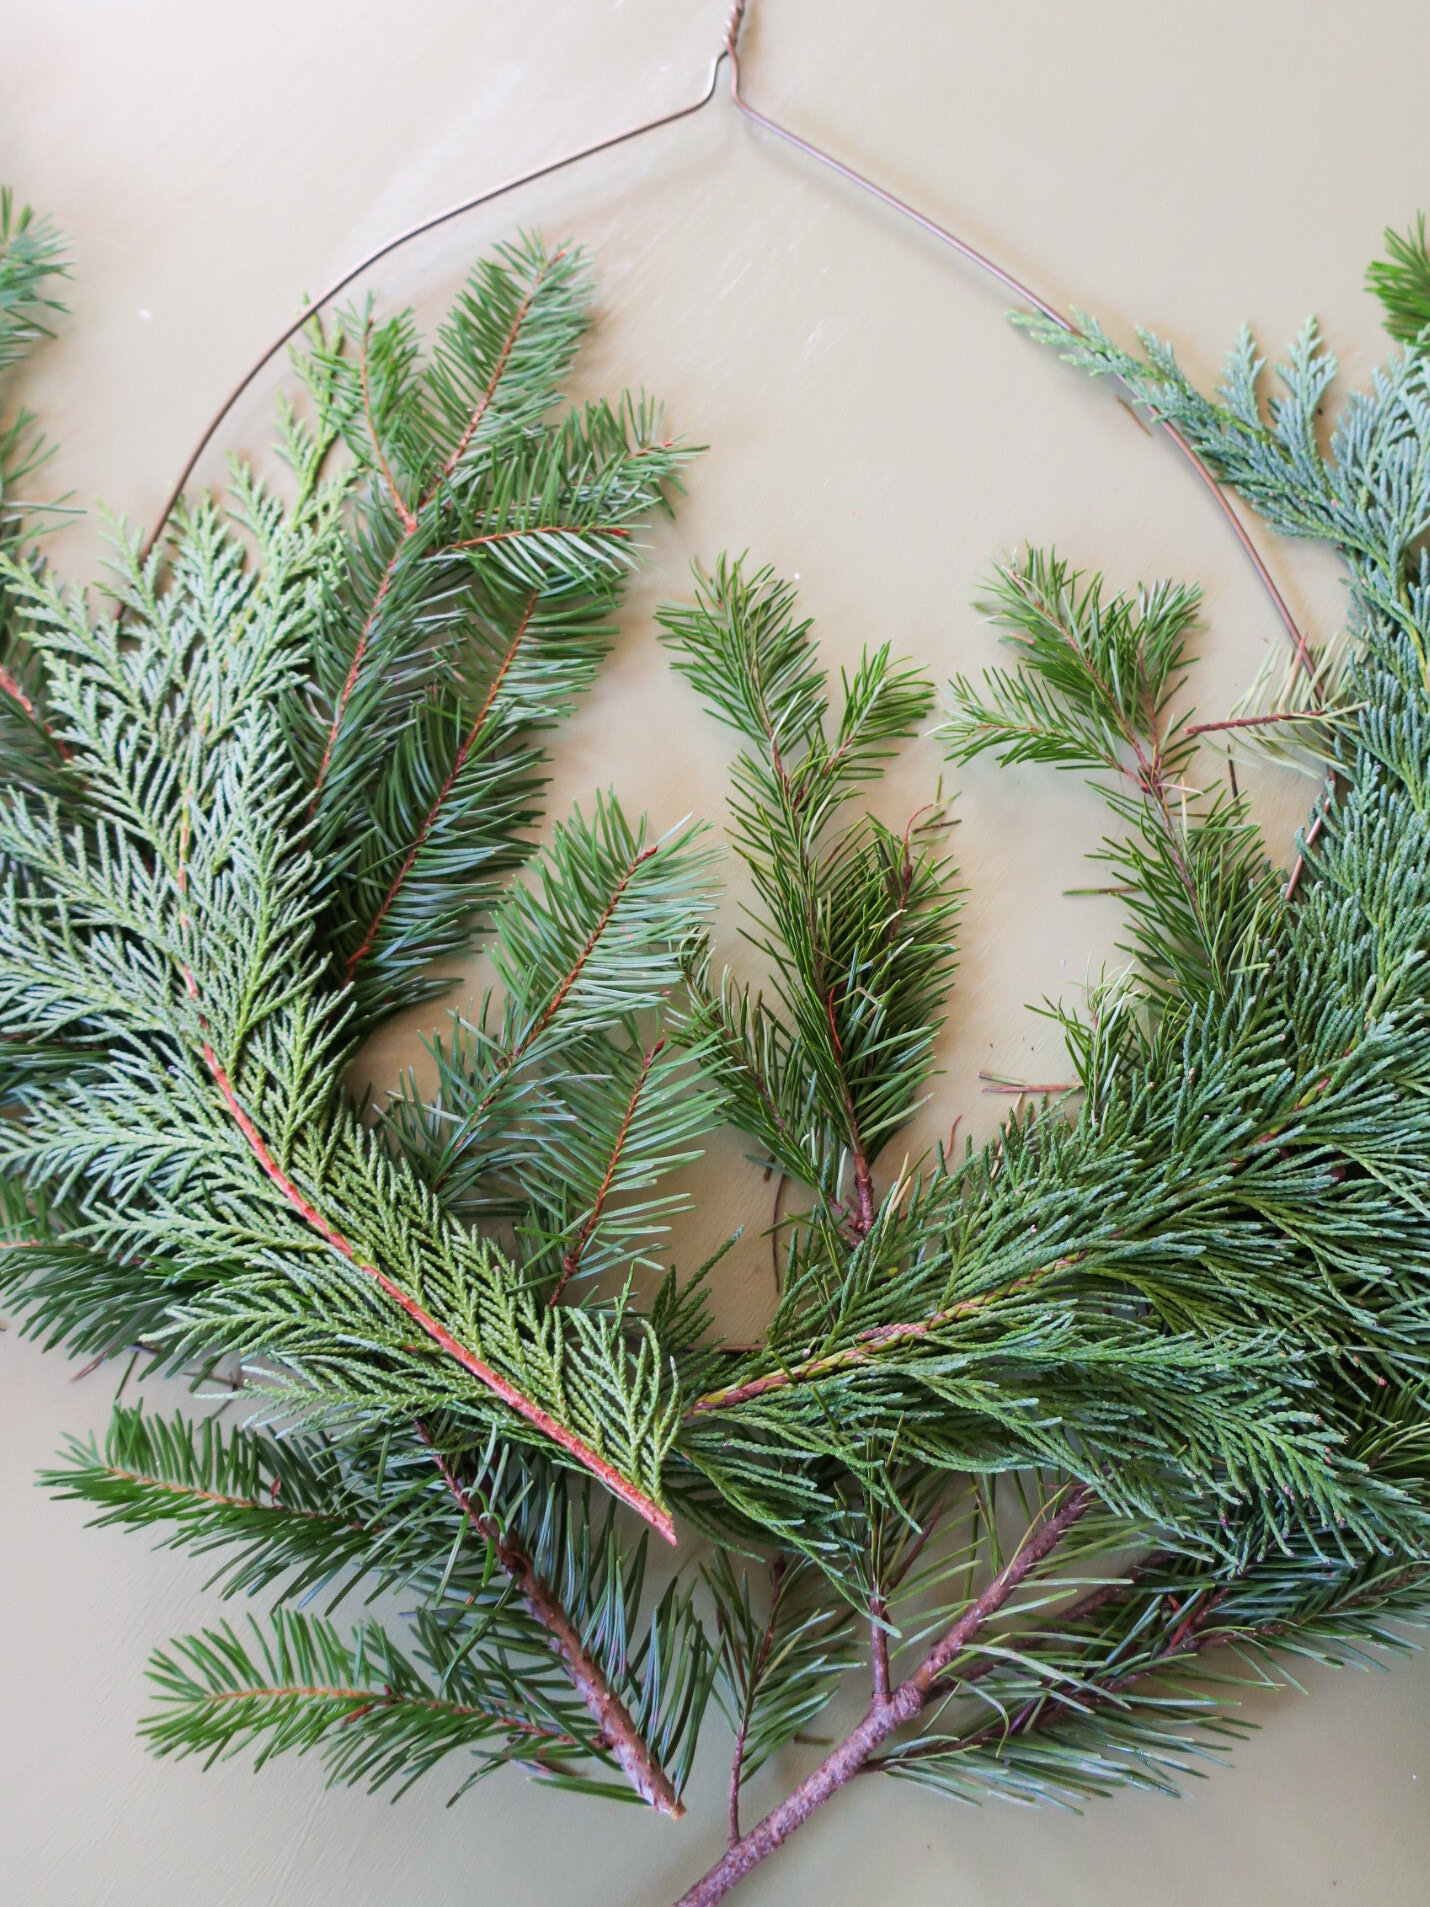
Step 1: Shape your hanger into the circle or shape of your choosing - doesn’t need to be perfect as you’ll be able to manipulate your greenery around it.

Step 2: Decide on your sprigs of greenery and align them on your hanger with the bases of the branches at the center bottom of your wreath.
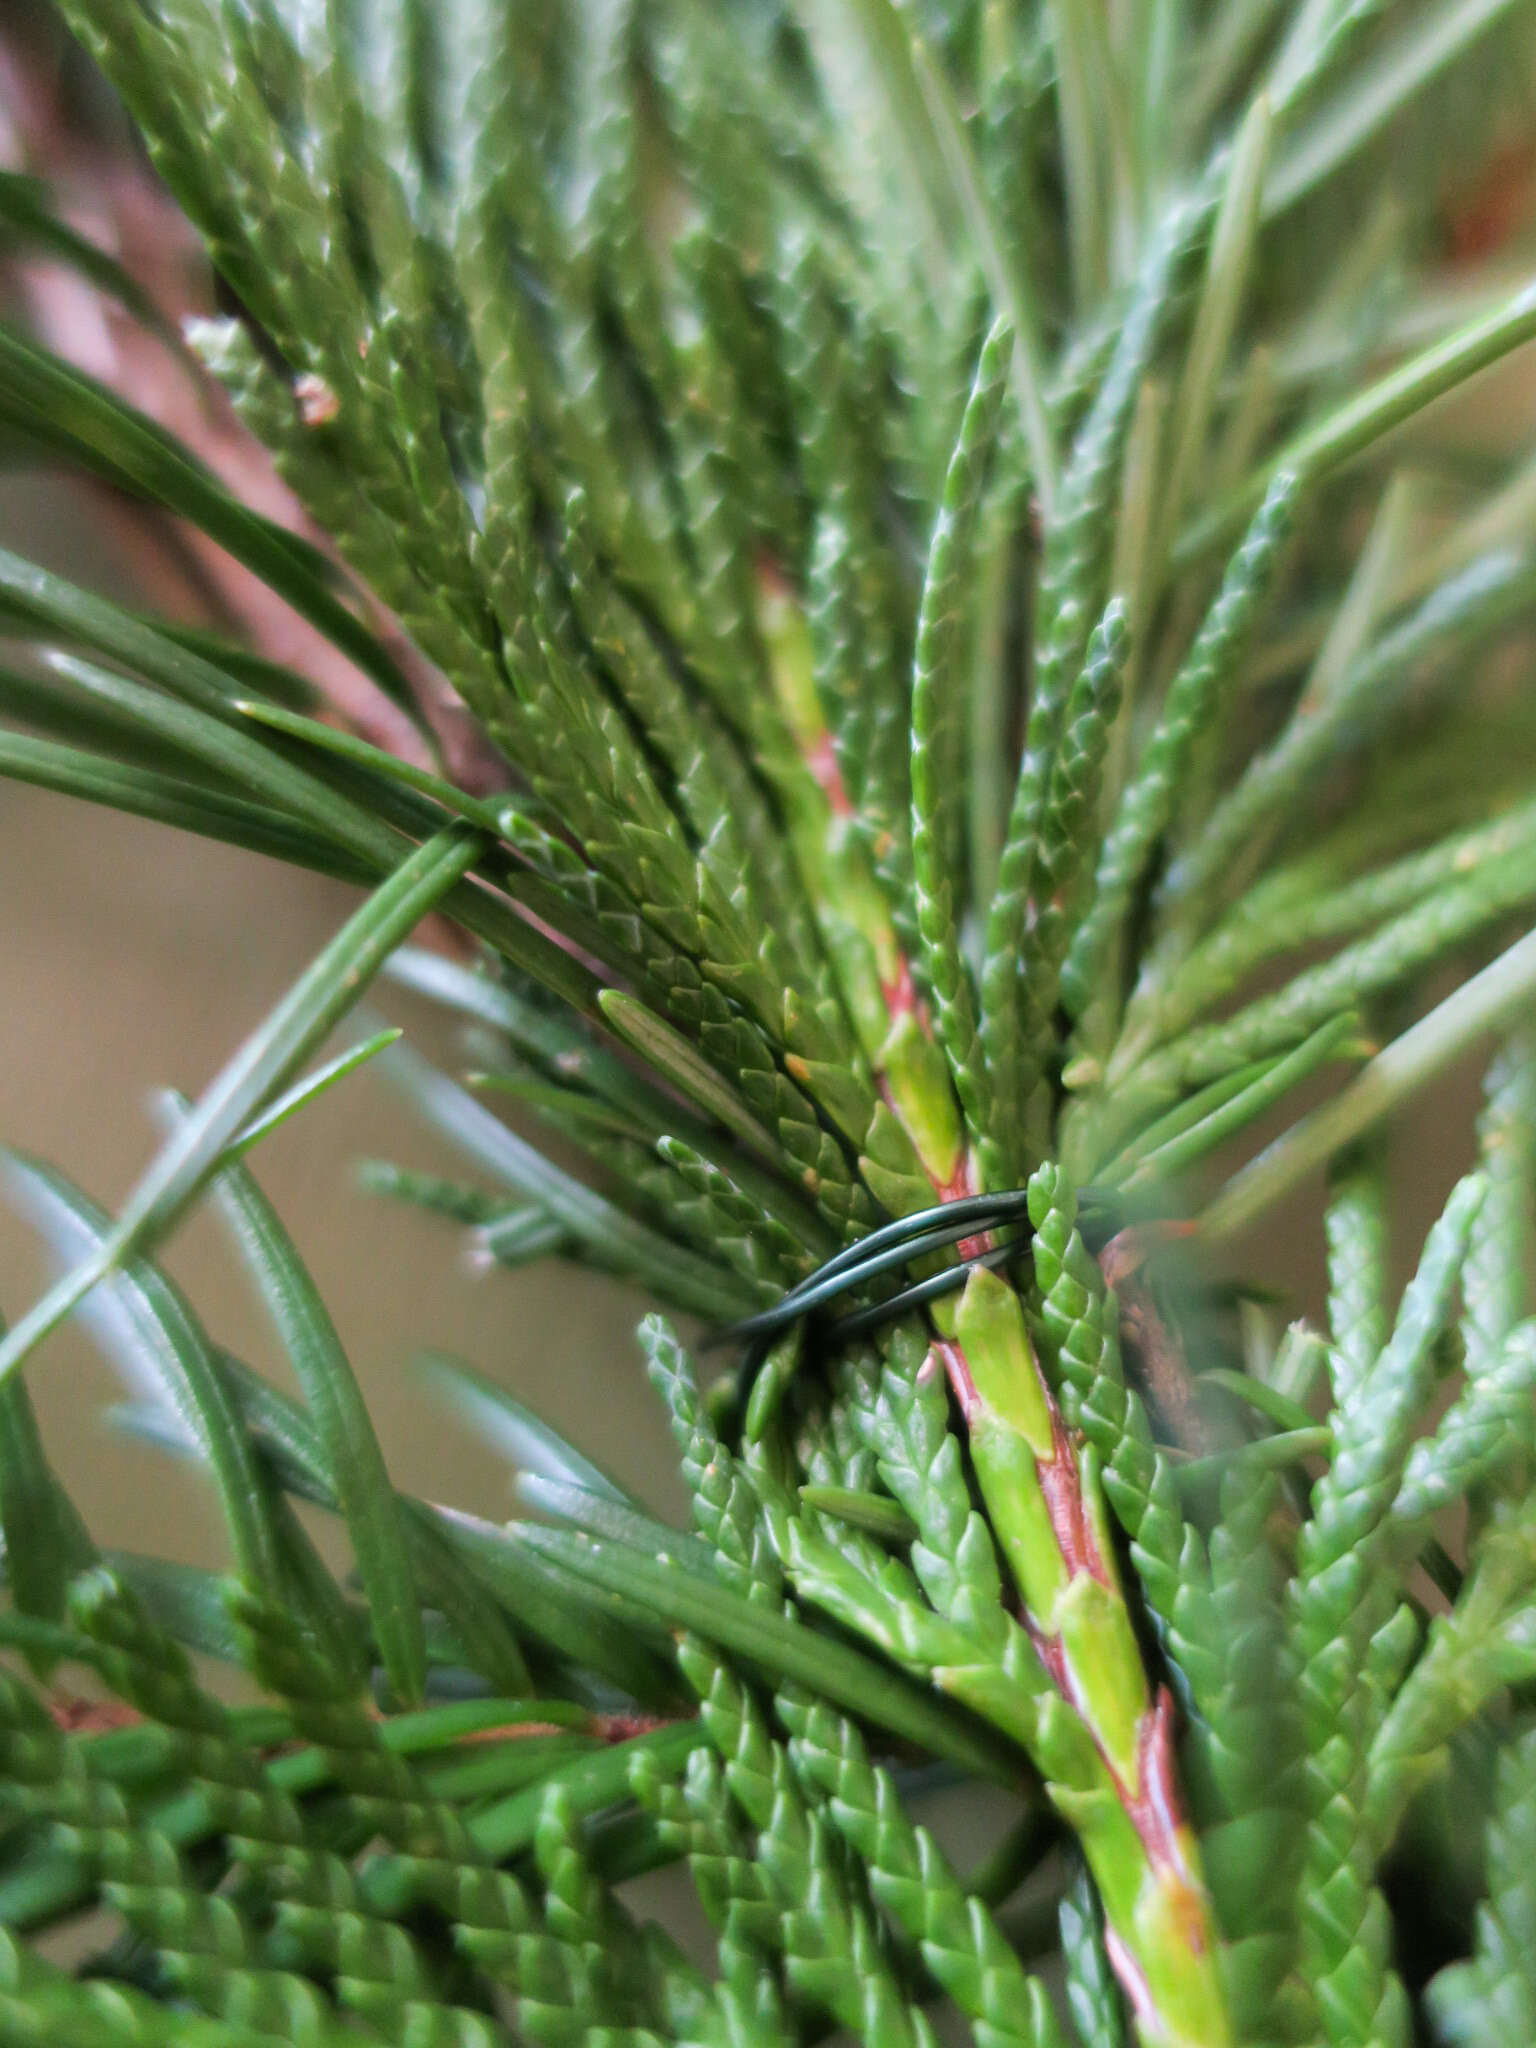
Step 3: Use your floral wire to attach greenery to hanger by wrapping wire around both branches and hanger. I pre cut about a dozen four inch pieces of wire for quick application and just wrapped them as many times as would fit around the bundle.
Step 4: Make a bow! I cut a piece of ribbon about the length of my arm span, you don’t necessarily need this much but felt it would be better to trim after applying. Wrap the ribbon around the base of the wreath a couple of times where all the ends of the branches meet, and then tie a standard bow in front.
Step 5: Hang it on your door! Or wall! Or wherever you think the best place for your little wreath may be!

So easy and fun to make. Aside from pausing to take pictures, putting together the whole wreath only took me about 15 minutes. And if you’re already a crafty person, you probably have wire and ribbon lying around so this wreath could essentially cost you near to nothing. Would love to see what you all are DIYing around your homes for the holidays, be sure to tag me on Instagram @kirby.wolf :)